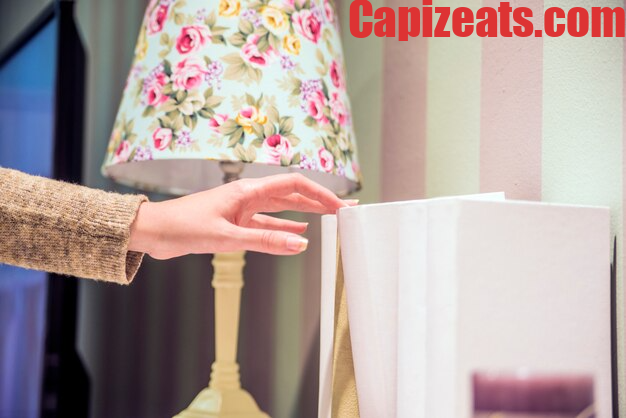
If you’ve ever spent three hours scrolling through home decor sites only to find that every lamp looks exactly the same, it’s time to take matters into your own hands. Making your own lampshade is one of those DIY projects that feels intimidating—until you actually do it.
Suddenly, you realize you aren’t just stuck with what’s on the shelf; you can turn that vintage fabric or that wild botanical print into a functional piece of art. But before you start raiding your fabric stash, you need the right gear. Think of this article as your “starter kit” guide. Here is the lowdown on the essential lampshade making supplies you’ll need to go from a pile of wire to a glowing masterpiece.
The Core Components: The “Bones” of the Shade
You can’t just glue fabric to a bulb. You need a structure.
1. Lampshade Rings (The Frames)
Most DIYers start with drum lamp shades because they are the easiest to master. A drum shade requires two rings: a plain top ring and a “utility” bottom ring that has a “fitter” (the part that actually attaches to the lamp base).
- Uno Fitters: These screw directly onto the socket.
- Spider Fitters: These are the most common in the US and sit on a “harp.”
Make sure your rings are sturdy and powder-coated so they don’t rust over time and ruin the fabric of your shade.
2. Pressure Sensitive Styrene
This is the “secret sauce” of professional-looking shades. Styrene is a heat-resistant plastic sheet with an adhesive side. You peel back the backing, stick your fabric down, and—boom—you have a rigid material that won’t sag or catch fire.
Pro Tip: If you want a warm, vintage glow, look for “gold” or “champagne” backed styrene. For a crisp, modern look, stick with classic white.
The Toolbox: Essential Gear
Beyond the big pieces, you need a few specialized tools to get those clean, professional edges.
1. High-Tack Double-Sided Tape
Forget the glue. You need “tacky” tape (often 9mm or 12mm wide) to run along the edges of your styrene and the rings. This is what creates the bond between the frame and the shade.
2. Fabric Glue & Glue Spreader
Once the shade is rolled onto the rings, you’ll have raw fabric edges. You’ll fold these over the wire rings to create a “rolled edge.” A specialized lampshade glue that dries clear and stays flexible is a must. A little plastic spreader or even a popsicle stick helps keep things neat.
3. Top-Tier Fabric Scissors
Since you’re working with lampshade making supplies that involve adhesive, your scissors are going to work hard. Make sure they are sharp. A rotary cutter and a self-healing mat are also game-changers for getting those perfectly straight lines on your fabric and styrene.
Choosing Your Lampshade Material
While you can technically use almost any fabric, some are easier for beginners than others.
- Cotton & Linen: These are the gold standard. They stick well to the styrene and fold easily over the rings.
- Avoid: Super stretchy knits or heavy upholstery fabrics. They are a nightmare to “roll” over the wire and can look bulky at the seams.
If you’re aiming for the clean, cylindrical look of drum shades, a medium-weight cotton with a bold print is usually the most satisfying choice for a first project.
The Finishing Touches: Clean Seams
The difference between a “craft project” and a “designer piece” is the vertical seam. When you wrap your fabric around the rings, you’ll have one vertical line where the ends meet. Use a tiny bit of extra double-sided tape or a specialized “seam sealer” to ensure this stays flat and flush.
When you buy a mass-produced lamp shade, you’re limited to neutral tones and cheap plastics. When you gather your own lampshade making supplies, the ceiling (or the table or the floor lamp) is the limit.
You can match your curtains, showcase a piece of art, or finally get that exact shade of ochre you’ve been hunting for. Plus, there is a weirdly high level of satisfaction in clicking a switch and seeing your own handiwork glow.
FAQs
Q: Can I reuse the rings from an old, ugly lampshade?
A: Absolutely! Strip off the old fabric and plastic, give the rings a quick clean (or a coat of spray paint), and they are perfectly good to go.
Q: What is the best fabric for a drum shade?
A: Natural fibers like 100% cotton or linen work best because they handle the heat of the bulb well and stick easily to the adhesive backing.
Q: Do I really need styrene, or can I just use cardboard?
A: Use the styrene. It’s specifically designed to be heat-resistant and translucent. Cardboard can be a fire hazard and won’t let the light through evenly.
Q: How much extra fabric should I buy?
A: Generally, you want your fabric to be at least 1-2 inches wider and longer than your styrene sheet to allow for the “roll” over the rings and the seam overlap.
Q: Can I make a pleated shade with these supplies?
A: Pleated shades are a bit more advanced and usually require a different frame style. Drum lampshades are much better for beginners using the “adhesive-and-roll” method.